 FlatKeys
Replacing the socket
This page is to show you an IC socket that we have found, into which the new RETRO devices don't seat properly, and also to show how to use tie-wraps to ensure that our devices cannot "pop out".
 |
 |
|---|---|
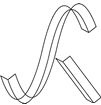
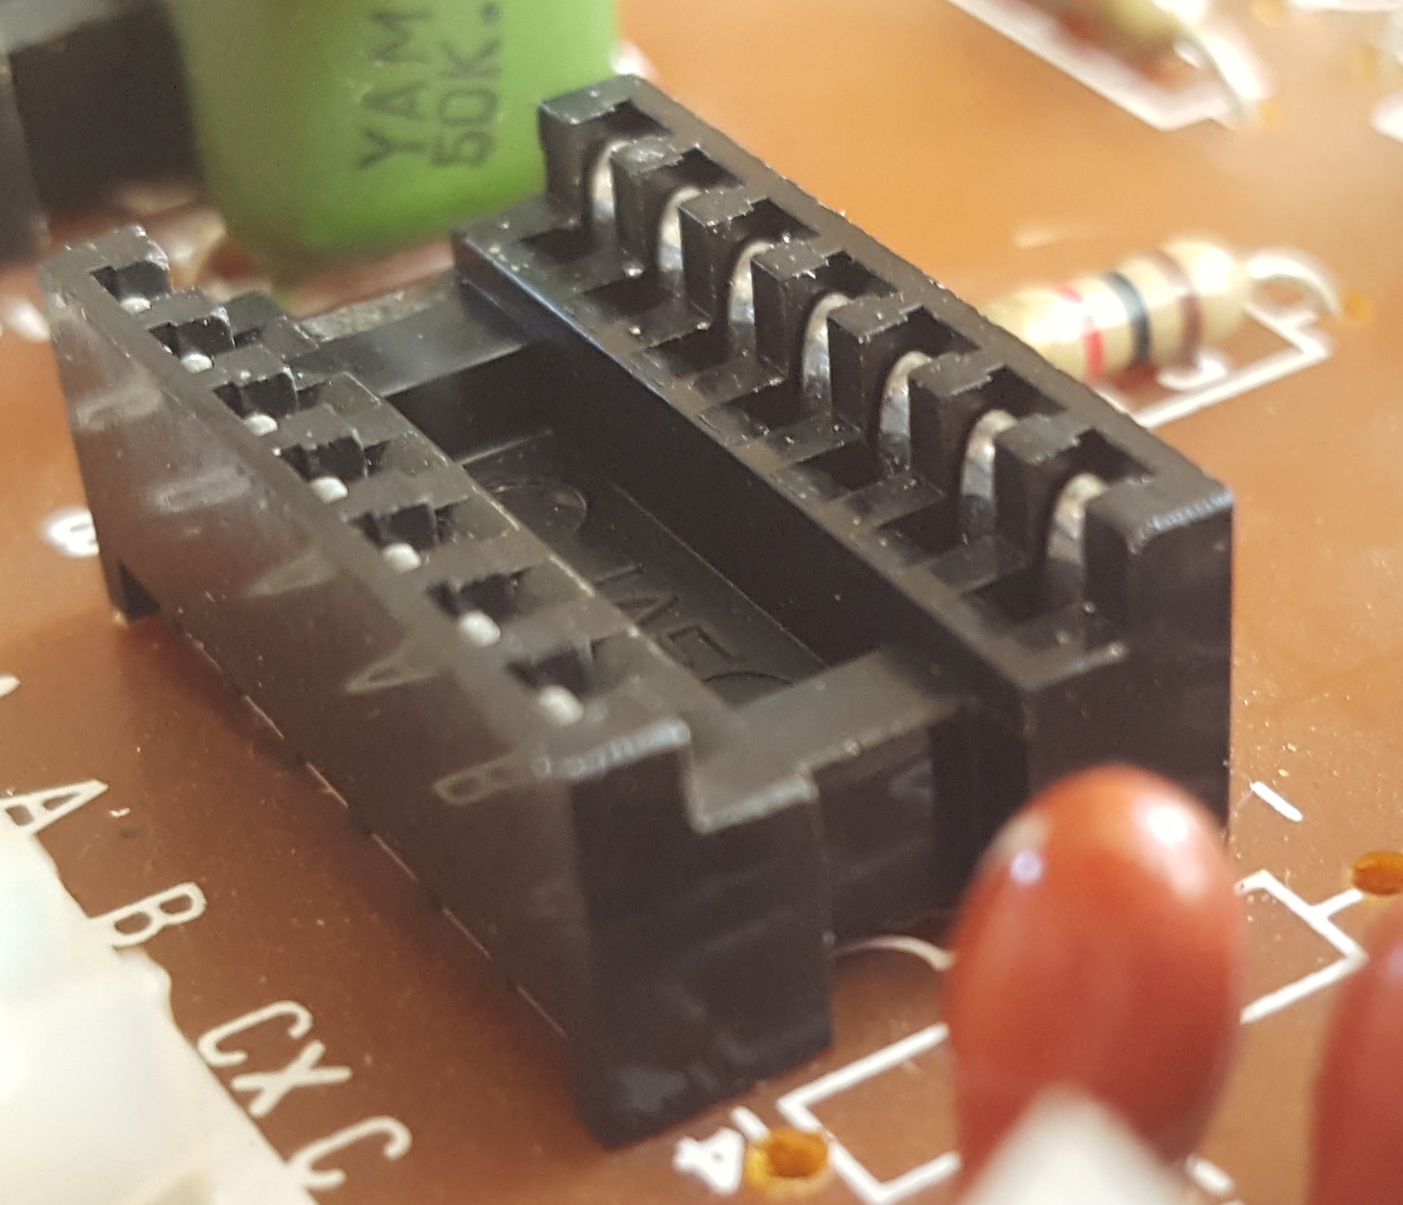
Above is the type of socket which causes the problem - you can see the plastic 'shoulders' sticking up, which means the pins can't get down to the contacts in the socket (right-hand image above). These types of socket need removing. Below shows two "turned pin" sockets fitted in place of the originals. Once the sockets are soldered in, you can slide a tie-wrap underneath as shown in the left-hand image below. The RETRO device plugs into the socket directly, but it is a firm fit, as shown on the right below. |
|
 |
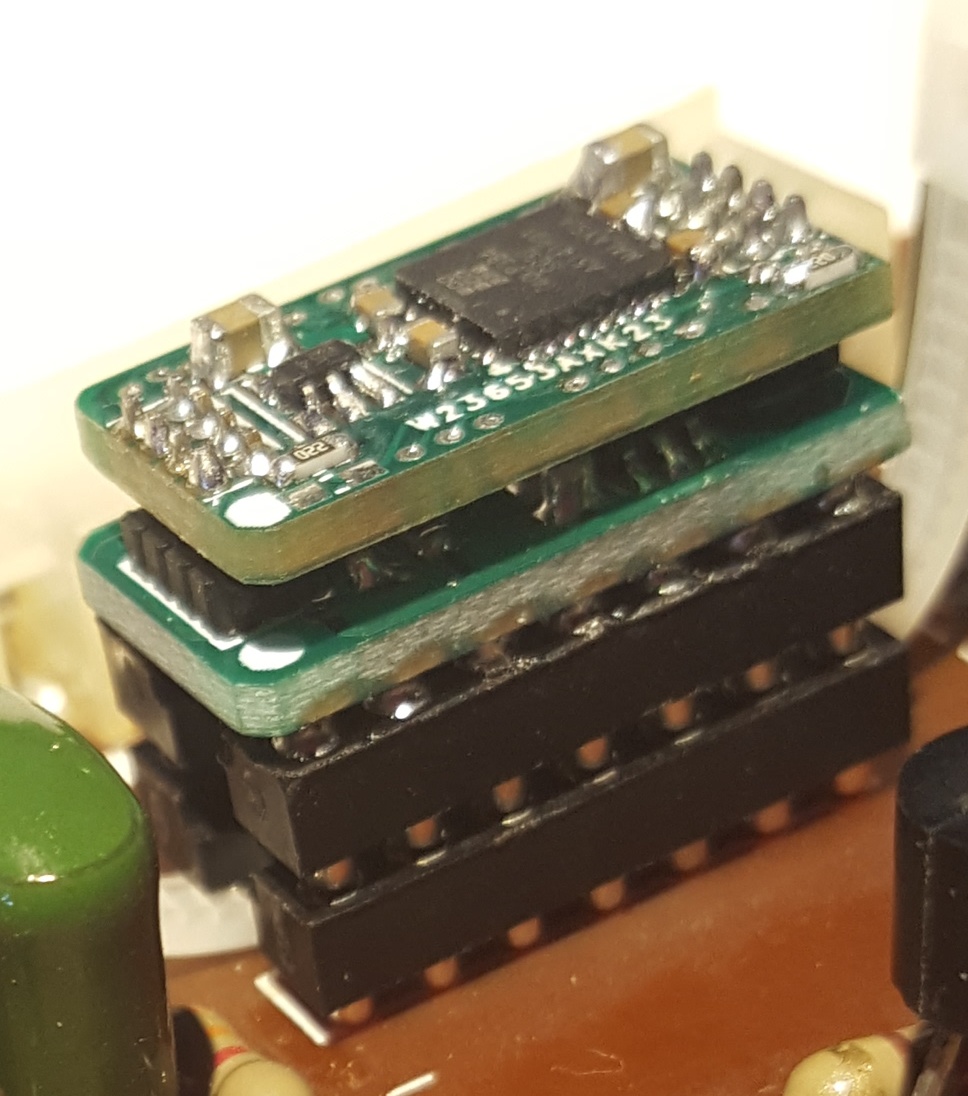 |
| Using a second tie-wrap interlinked with the first one, as shown on the picture below, the RETRO is now completely secure. | |
 |
|
Of course, if you solder the device directly into the board, there is no need to do the above! In case you're interested, the board in the pictures is the MDD board from a Hammond X5. |
|